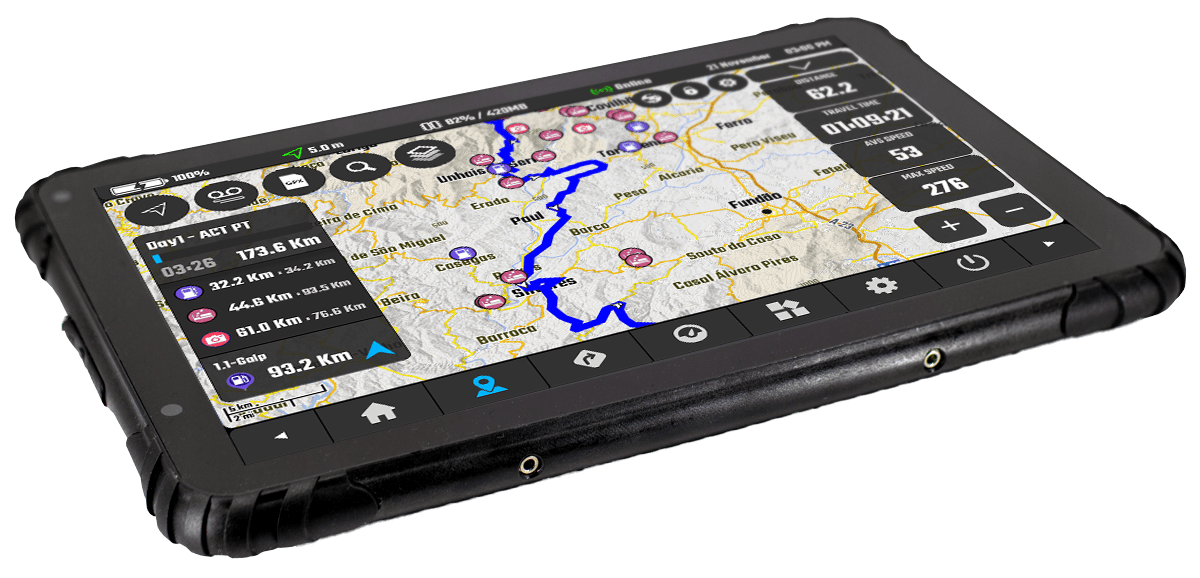
Manuals and Guides For DMD-T865
If you bought the DMD-T865 this page is for you.
We will keep this page updated as much as possible to provide all the information you need to assemble, operate and maintain your device.
Information:
CE / ROHS / REACH / FCC
EMARK / UKCA / CE / IC
SUBTEL / GSMA / PTCRB
IP67 certification + MIL-STD-810G
GSMA, RCM
Device Specifications Download:
Additional Certification:
Hot and Cold Tested: IEC 60068-2-14:2009
-20C to 60C certified
Shock and Crash Tested: IEC 60068-2-27:2008
Pulse waveform: half sine wave;
Acceleration: 500m/s2
Pulse time: 6ms;
Test axis: ±X axis, ±Y axis, ±Z axis, a total of 6 directions;
Vibration Tested: IEC 60068-2-64:2008
Frequencies: 10/20/30/180/2000
Power spectral density: 18/36/36/1/1
Acceleration Root Mean: 57.8
All axis up to 32 hours.
Latest Software Versions:
Android 14: DMD ROM 1.3.3
System Apps:
DMD2
Buttons
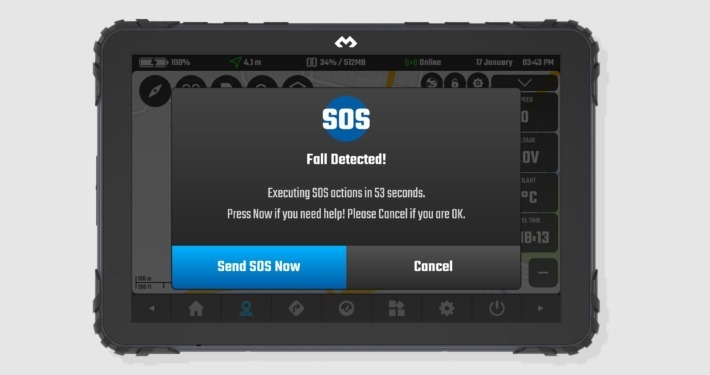
SOS
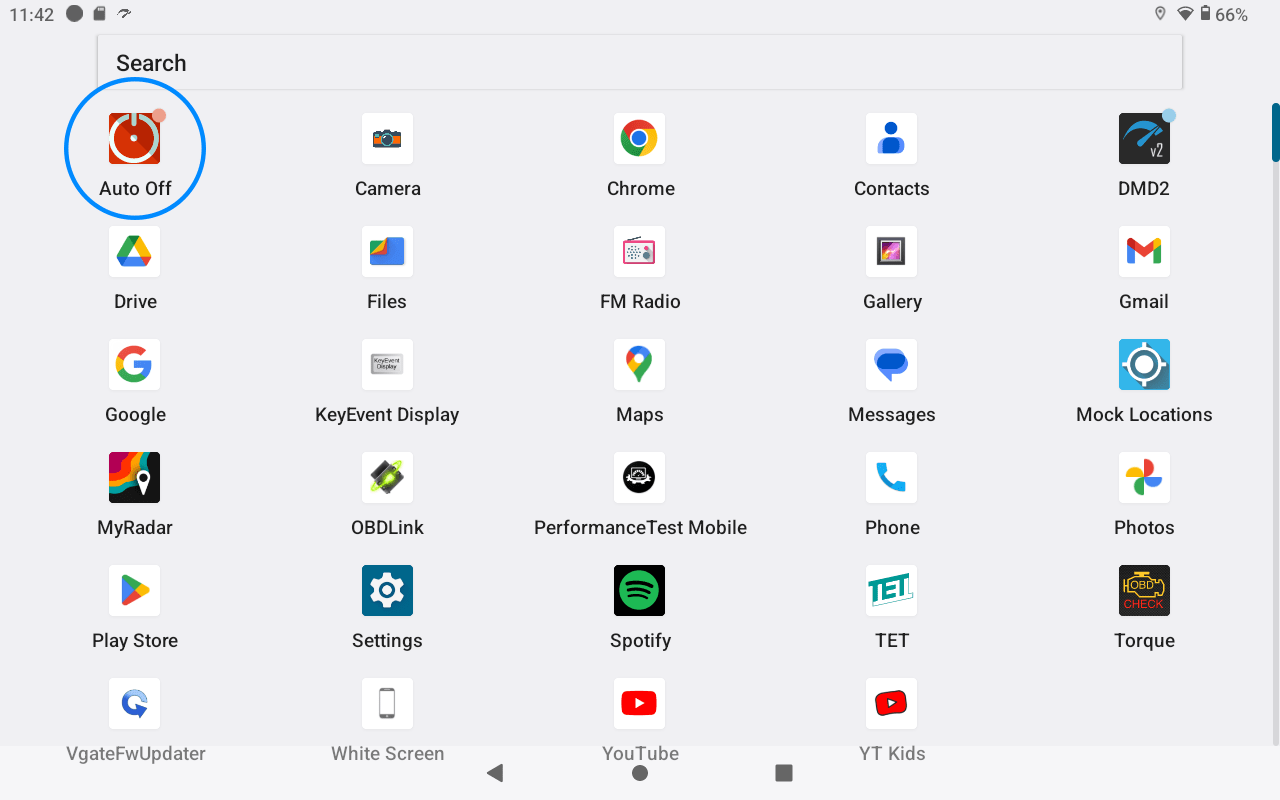
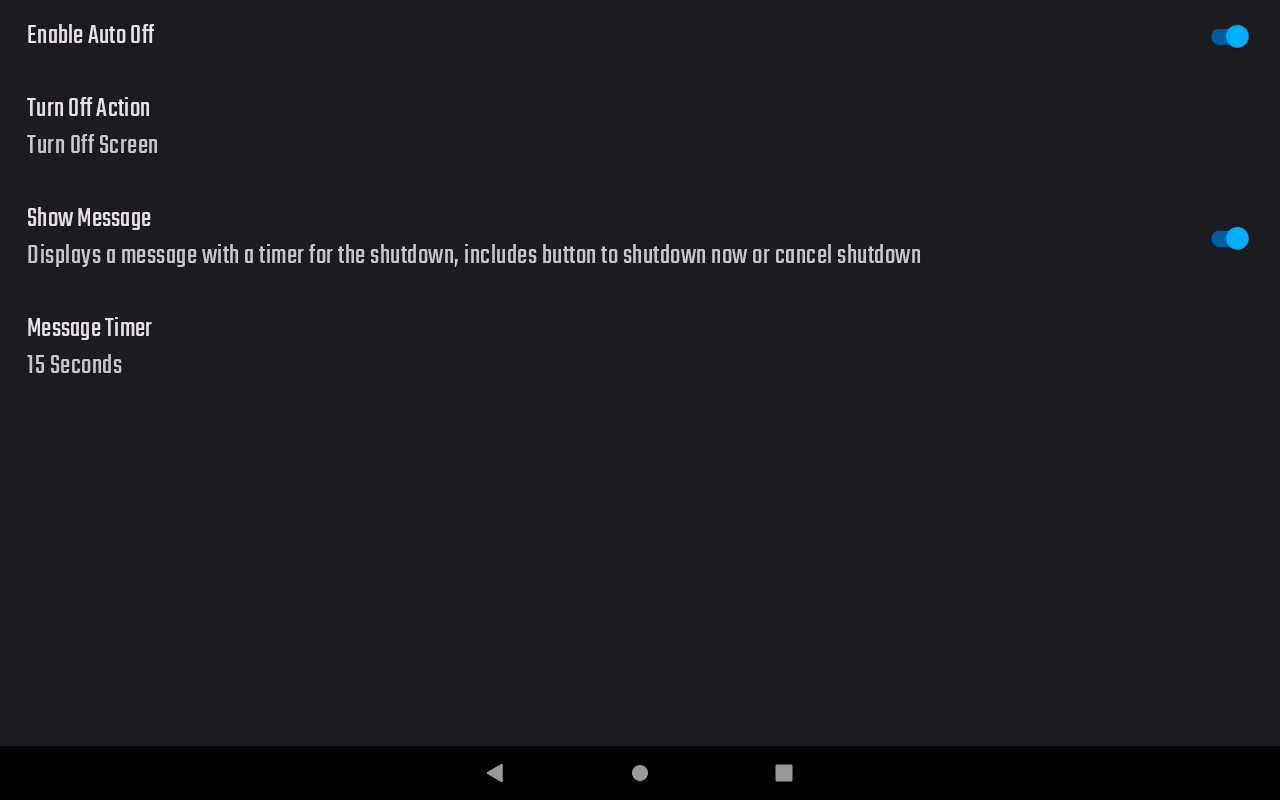
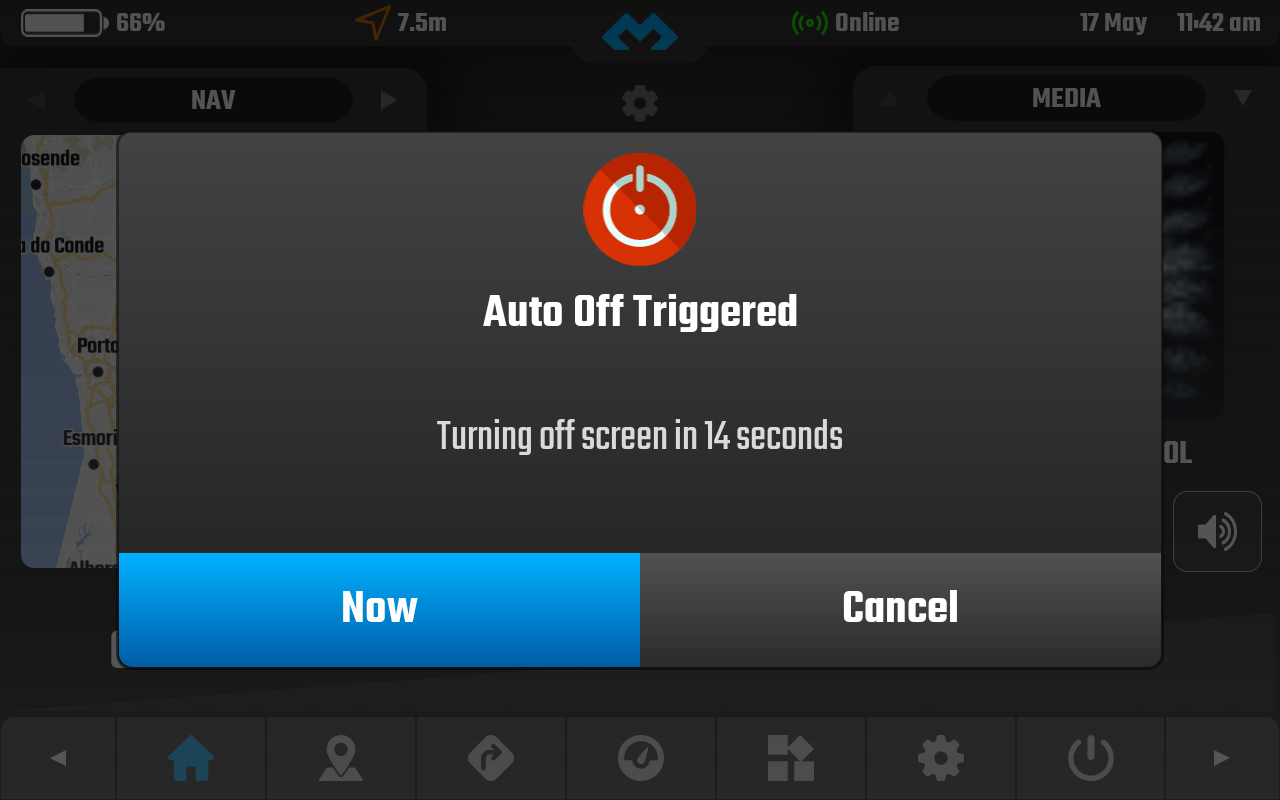
Auto-Off
Interface:
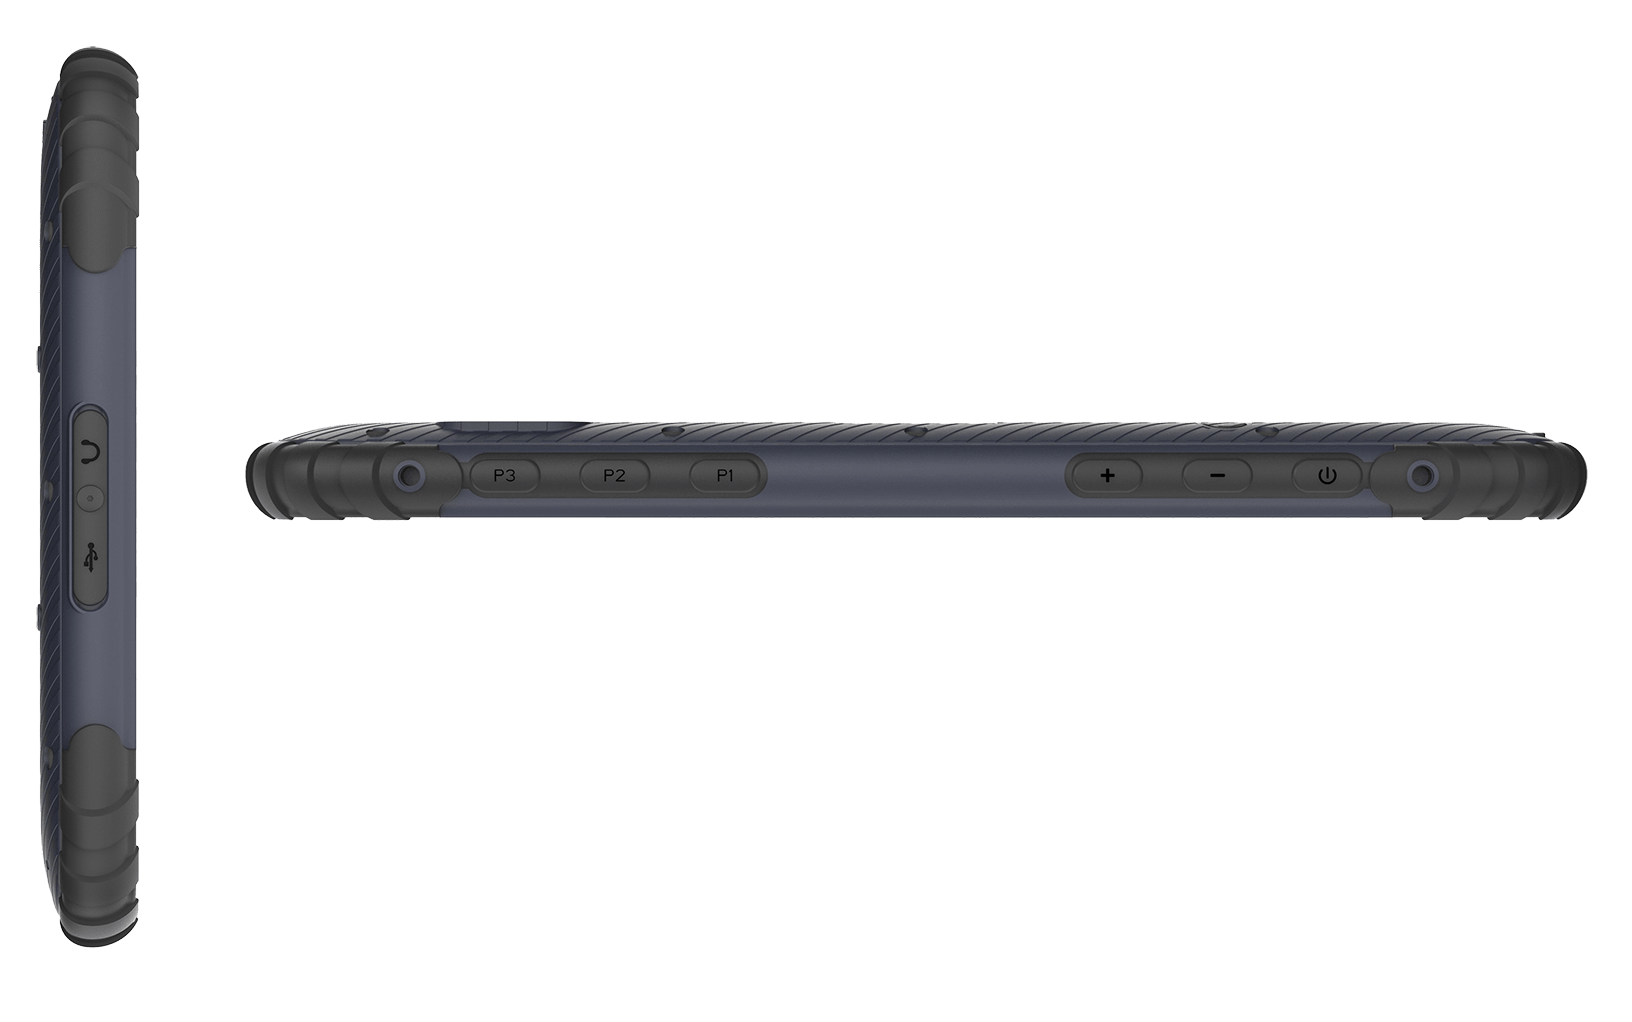
Headphone
USB-C Connection
3 User configurable buttons
Volume
Power
1 – Headphone Connection. Always make sure cover is correctly closed when riding.
2 – USB-C Connection – Will not work while device is in the holder! Always make sure cover is correctly closed when riding.
3 – User configurable buttons – You can configure them with the included system app “Buttons”
4 – Volume Control
5 – Power Button
SIM Card / SD Card:
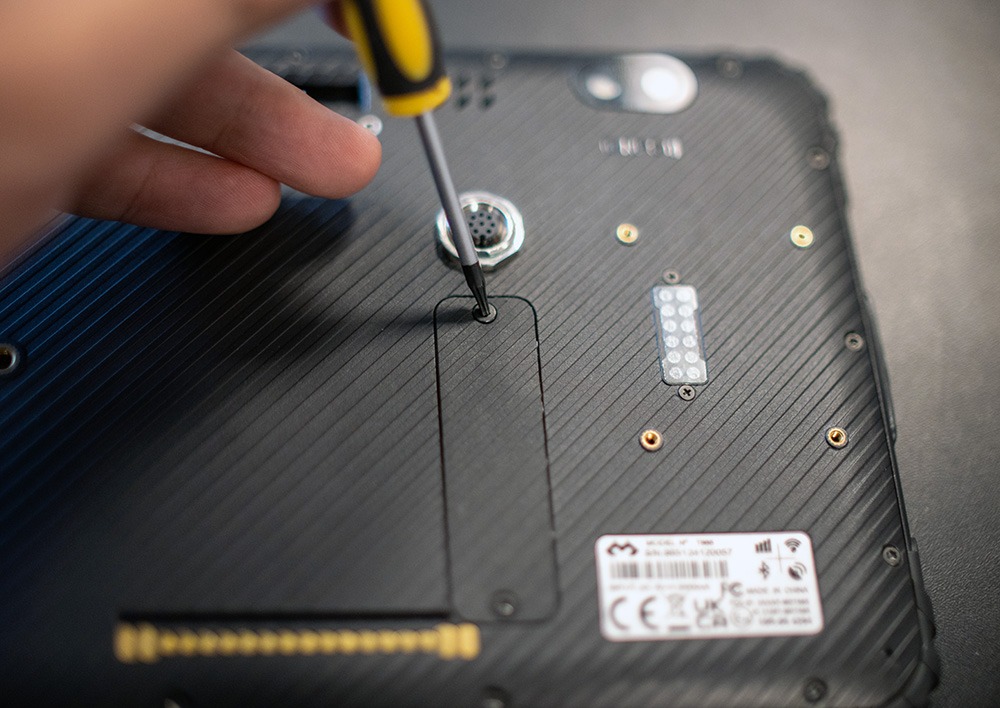
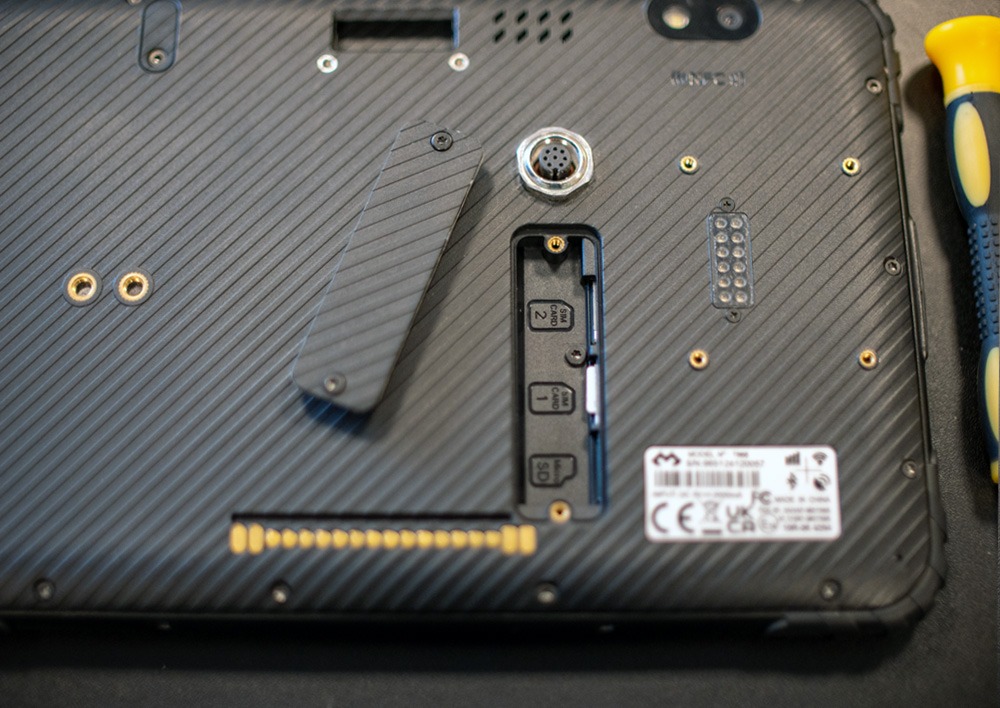
1 – Remove the two screws from the back cover with the included screw driver to access the card slots.
2 – Insert up to two SIM cards and one SD Card. Check the description in the chassis and push it until you feel a “click”
Harness:
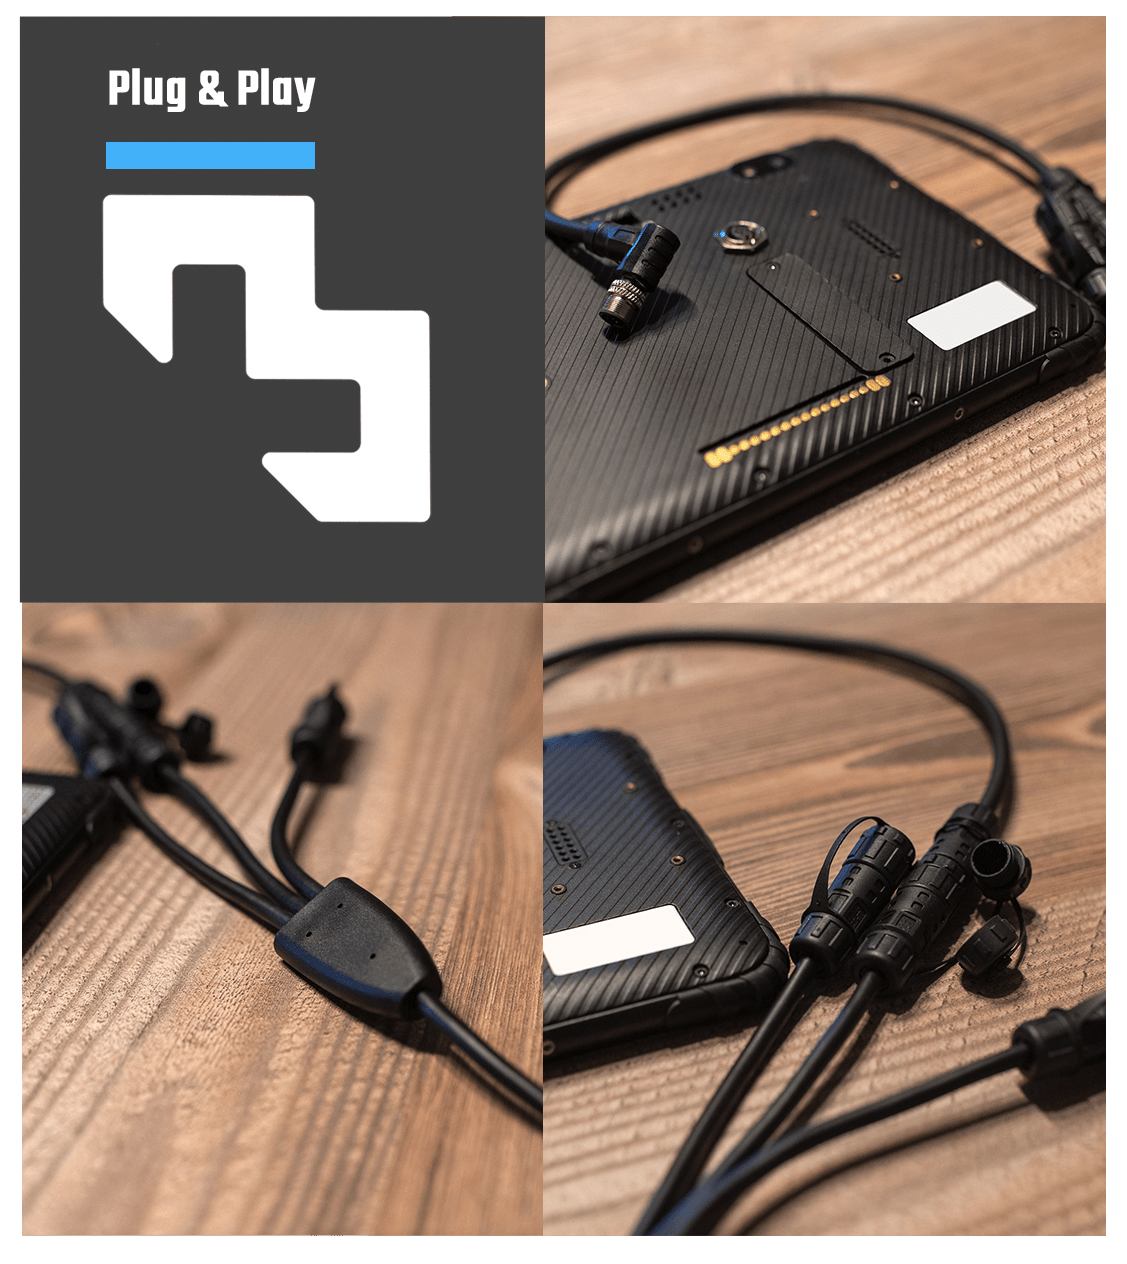
The DMD-T865 includes a holder and harness, bellow you can see the harness schematic and other information.
The only connection you need to do is to your motorcycle 12V, then the harness includes a splitter with 3 connectors:
One for holder
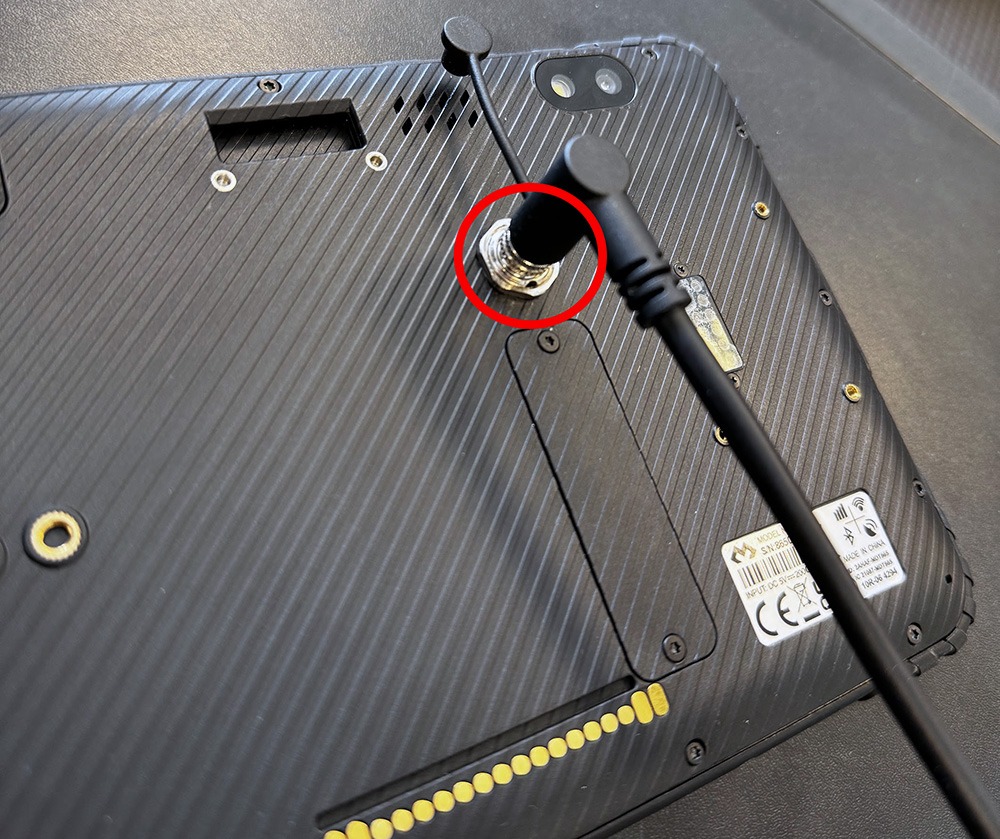
One to connect to the M12 connection in the back of the tablet (not mandatory)
One to connect to a DMD Remote controller (not mandatory)
Regardless of how you connect to your tablet (by holder ping or by back M12 connector) both connections will also keep your remote controller powered and connected to the tablet.
Note: You can use both the holder connection and the M12 back connector connected at the same time!
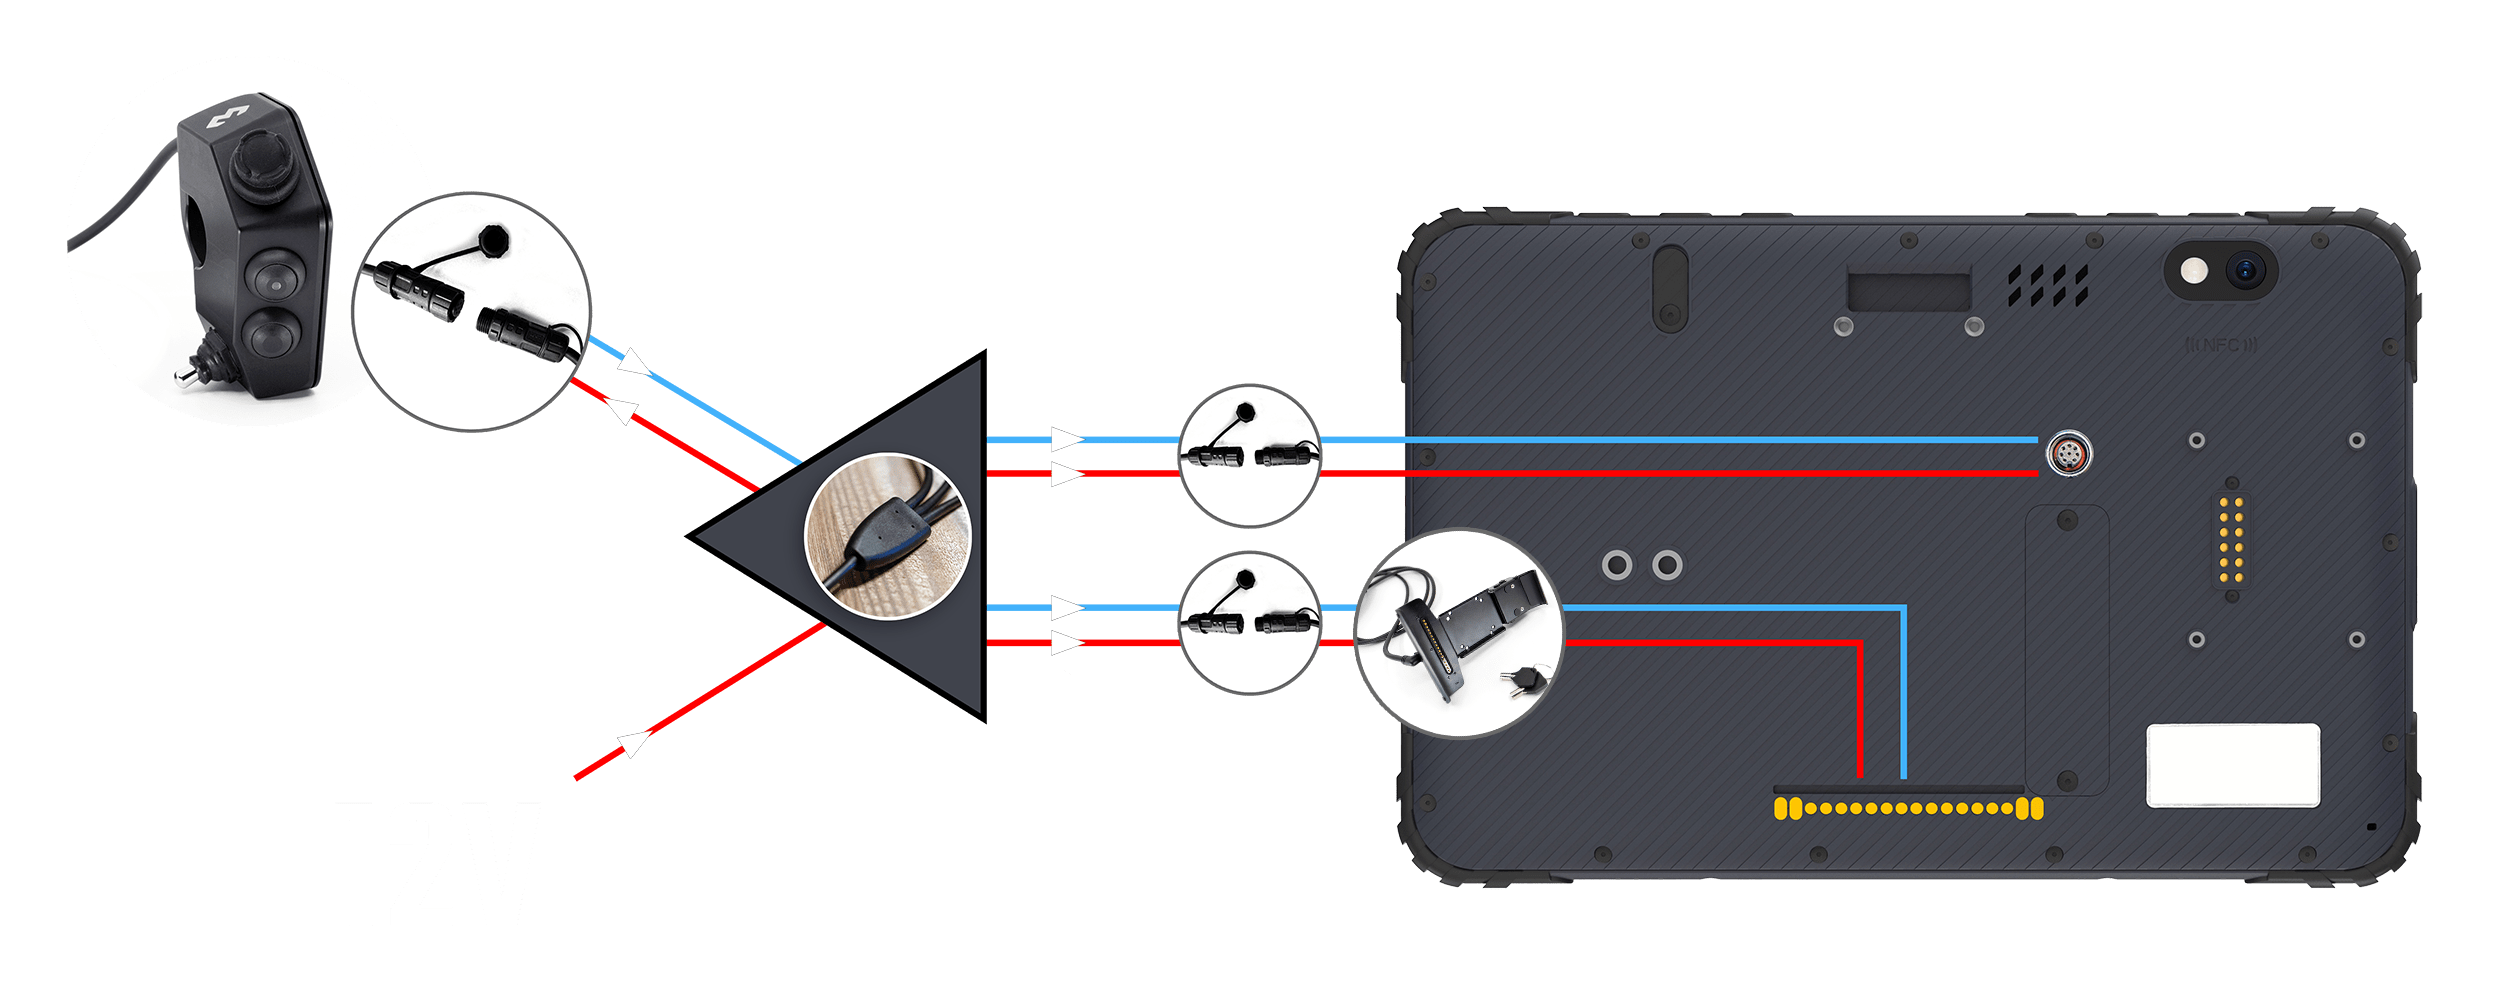
12V from motorcycle to feed tablet and controller
Delivers Power to Controller
Sends data from controller to tablet
Single controller connector
Delivers Power and Controller Data to Tablet
Delivers Power and Controller Data to Tablet
Waterproof Screw Type M12 (optional)
Holder with pins
Pins for holder with pins option
Expansion module for future accessories
Optional external GPS Antenna connector (recommended only for closed cabin vehicles like ATV, UTV and OHV)
Mounting:
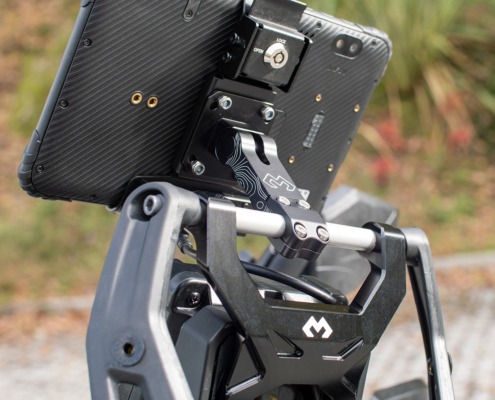
The included charging holder needs to be secured to a base with AMPS bolt pattern, screws are provided but you should make sure you have a base with this hole pattern already installed in your motorcycle. For each installation/motorcycle model there are usually plenty of AMPS pattern bases, if you have a navigation tower, chances are it already includes a base like this, if not, you need to search one for your motorcycle model / tower.
Most GPS Mounts will work, you can check some here.
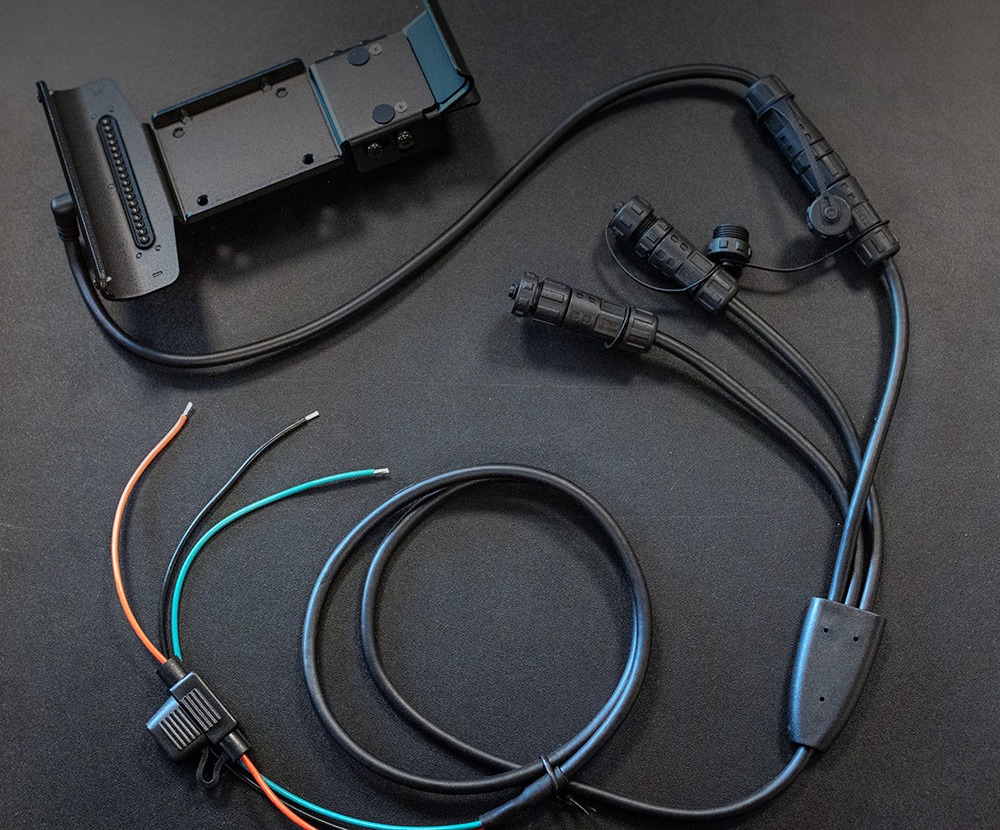
Positive – Connector to 12V post ignition
Ground – Connect to ground post ignition
Green wire can be used to trigger device turn off – configurable in the Auto Off app
Holder Connector
Included Harness
For M12 screw type optional connector – to back of the tablet
For DMD Remote Controllers
1 – Secure the holder to your motorcycle
2 – We recommend you to connect power cables (black and red) to post ignition (so that power is interrupted when you turn off motorcycle), in this case you can ignore the green wire
3 – If you connect Red / Black wires pre-ignition (example: directly to battery) you can still use the green wire to trigger device shutdown (connect green wire post ignition) – configure green wire action in the Auto Off app – if you go for this setup we do not recommend leaving the tablet on the motorcycle after you finish your ride
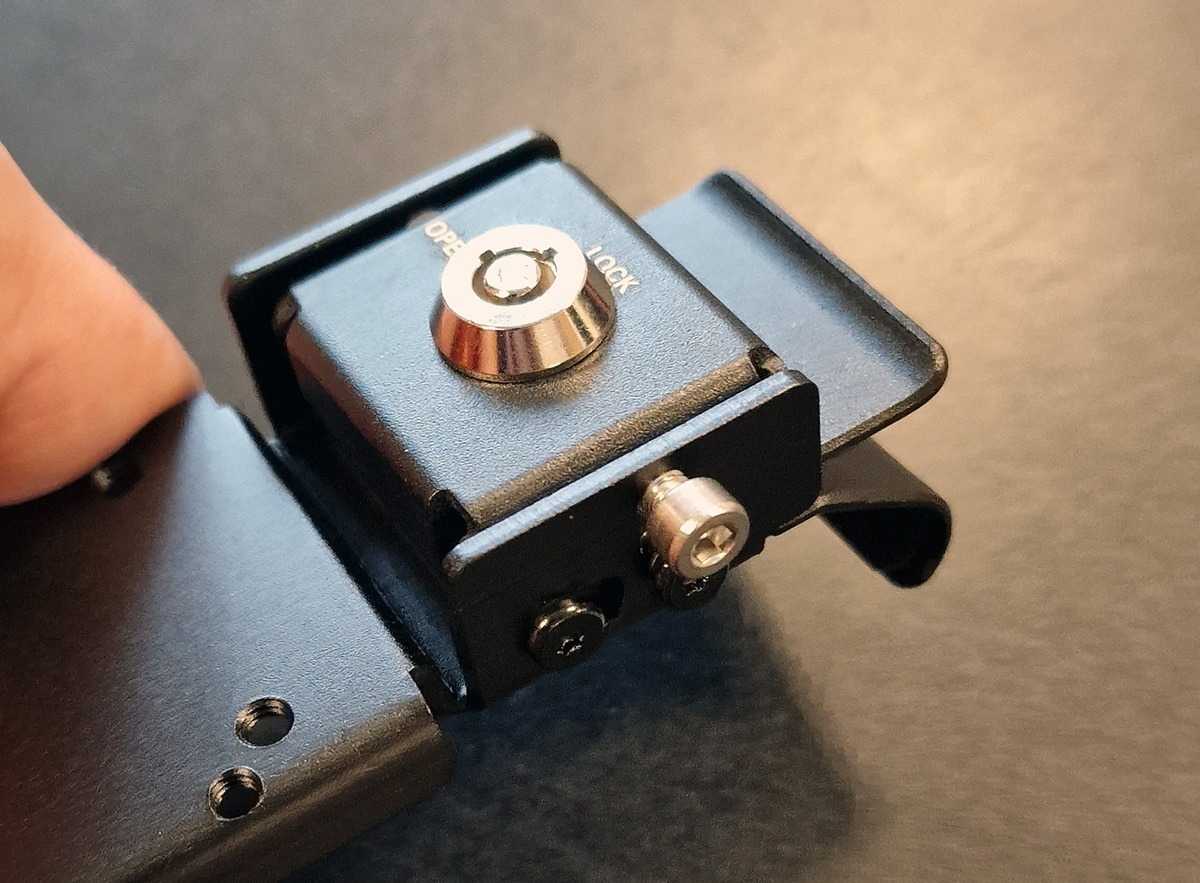
Important: Always ride with lock in the locked position!
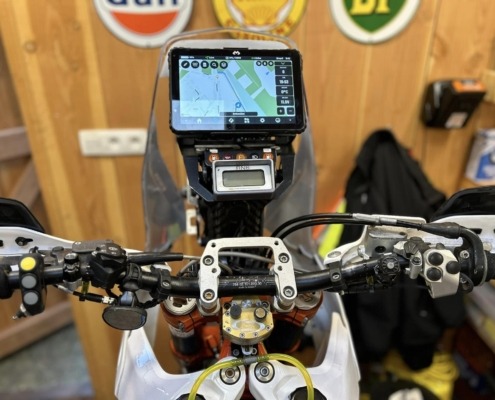
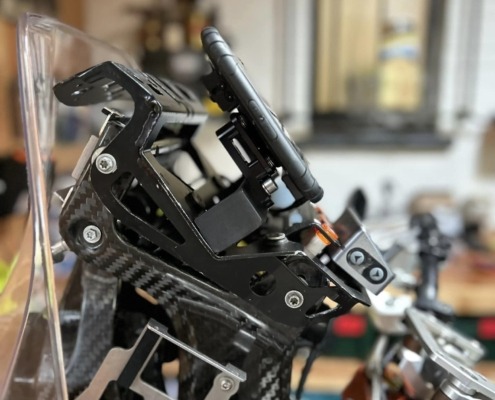
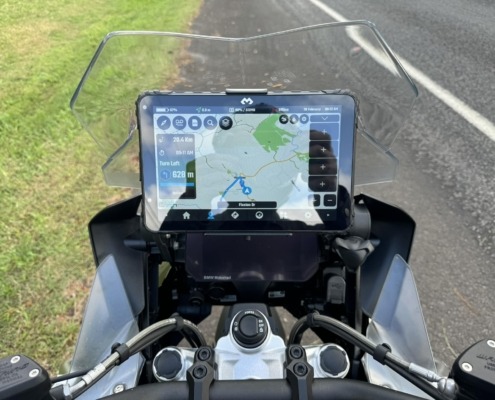
Assembly examples from our users:
M12 Connector Notice
No NOT ROTATE this connector!
This connector can not be rotated, its position is fixed with the cable going down when connector. Attempting to rotate this connector to achiever other cable angles will result in damage not only to the connector internal cable but also possibly short-circuit the device board!
This connector is waterproof!
This connector is totally waterproof, it does not require any cover to achieve this. Leaving it exposed – without the cable connected – will not damage it and will not allow water inside. The stock included cap is not required.
Lock Notice
If you are riding without the tablet inserted in the holder, always lock the holder to avoid damage to the lock mechanism.
The system is designed to be used in lock position, never ride with the tablet inserted with the lock unlocked.
If you cannot reach the lock, alternatively, you can use one M4 screw on the side which will lock the tablet also (view image on the left).
Alignment Check!
There are two holder in the tablet bottom and two in the tablet back, these should align with the pins on the holder. Make sure the tablet is being correctly inserted and that all pins align and enter the tablet holes.
If the holder gets damaged (bent) and the pins do not align with the holes in the tablet, please do not use it like that or it will cause damage to the device.
If you feel too much pressure is required please check if the pins are all aligned!
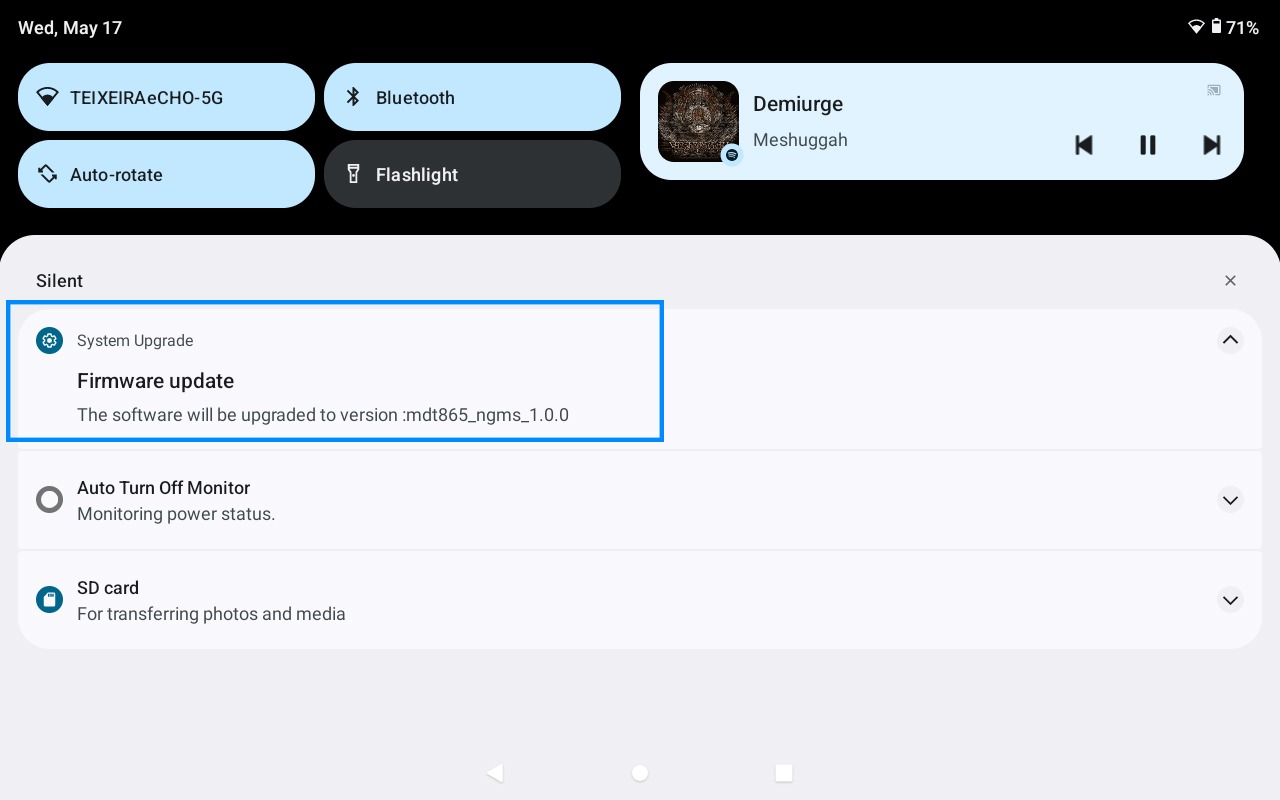
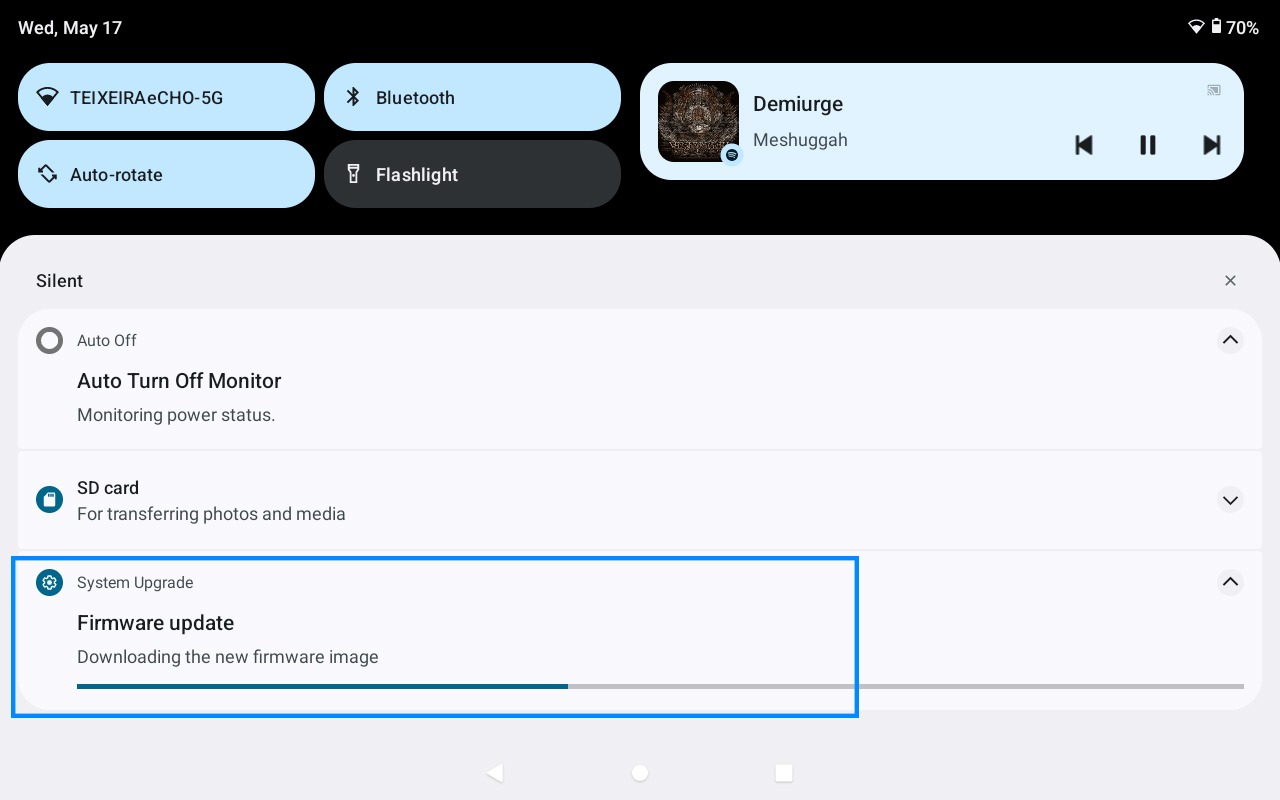
Firmware Updates:
Auto Turn On and Off:
Default Home Launcher:
Some users like the tablet to behave more like a traditional Android device, with a regular launcher where they can launch any app including DMD2. Other users will use the tablet mostly on their motorcycles and want DMD2 to be the default home app.
In the video:
- Open default Android Settings
- Click Apps
- Click Default Apps
- Click Home app
- Click on your preferred launcher app
No Keyboard when using a controller:
If the on-screen keyboard is missing when you click on text input boxes, chances are you paired a remote controller and the system disabled the on-screen keyboard.
This setting can be changed at anytime and the setting will be remembered by the system (you only need to do it once).
In the video:
- Pull the top notification drawer
- Click on the notification with “Configure physical keyboard” title
- Enable “Use on-screen keyboard”
- Done!
This setting can also be found in Android Settings > System > Languages & Input

