DMD-Remote1 Firmware Update
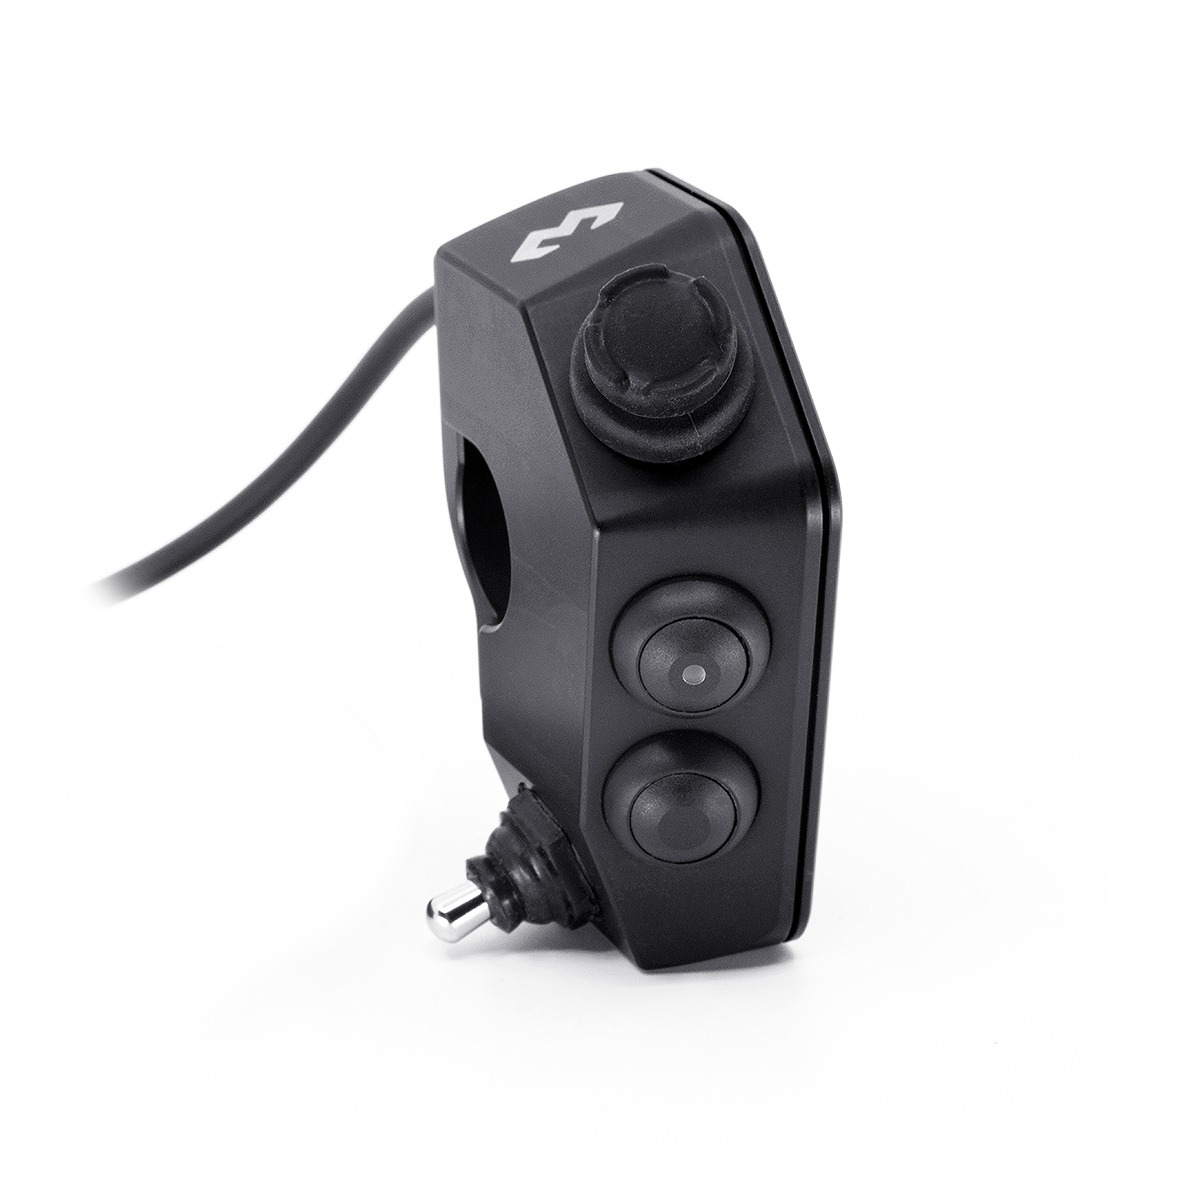
This is the procedure for performing a FW update for the DMD-Remote1 handlebar controller.
Please ONLY do this if it was instructed by DMD support!
You will need a computer (Windows, Mac or Linux) to follow the steps.
Step 1 – Download Firmware File
Click to download firmware file and save it to your computer:
Step 2 – Set Controller in FW Update mode
– To set the controller in FW Update mode you need to make sure the unit is powered OFF
– Then press and hold JOYSTICK DOWN and BUTTON B at the same time
– With both buttons pressed you should now turn the power on
– Observe that the LED is flashing fast
– Check the video
Step 4 – Connect to Wireless Network
When the LED is blinking fast it means it created an wifi network for you to connect to it.
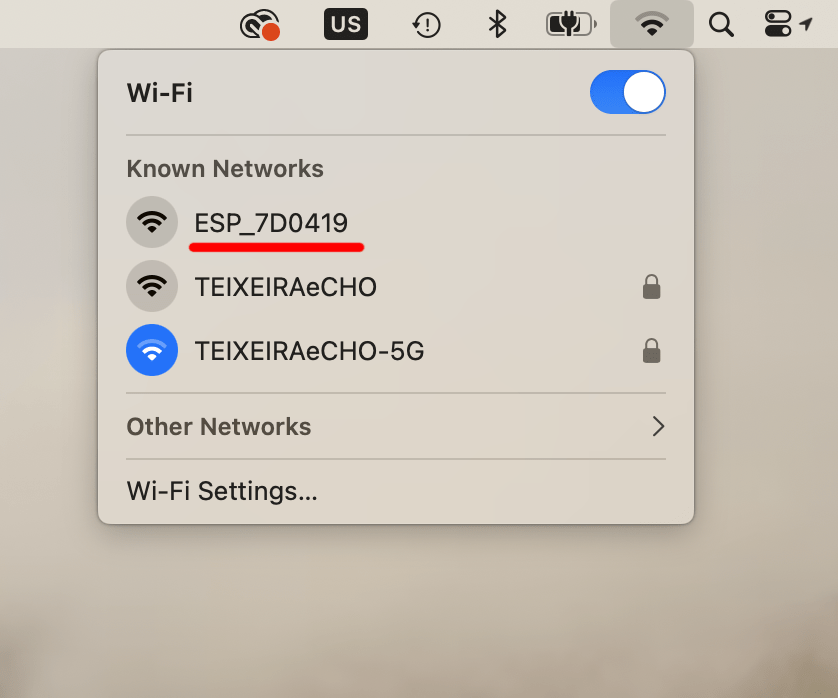
In you computer search and connect to the WIFI network with the name “ESP_…”
In you computer search and connect to the WIFI network with the name “ESP_…”
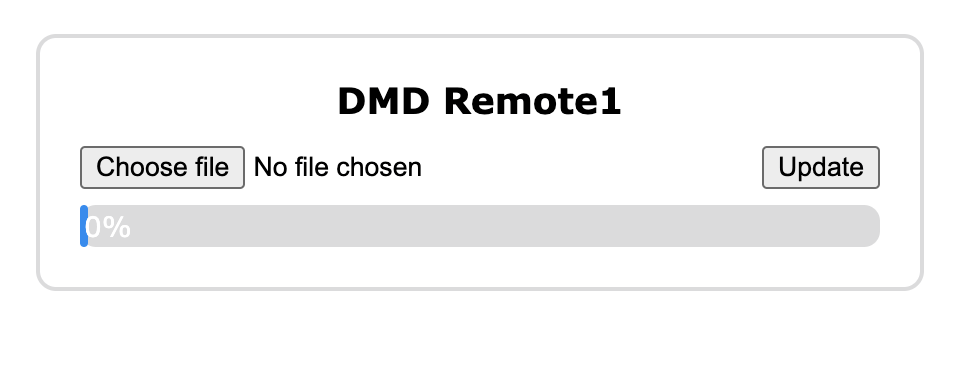
You will see a page like this:
(Note that the text might be different)
(Note that the text might be different)
Step 5 – Upload Firmware
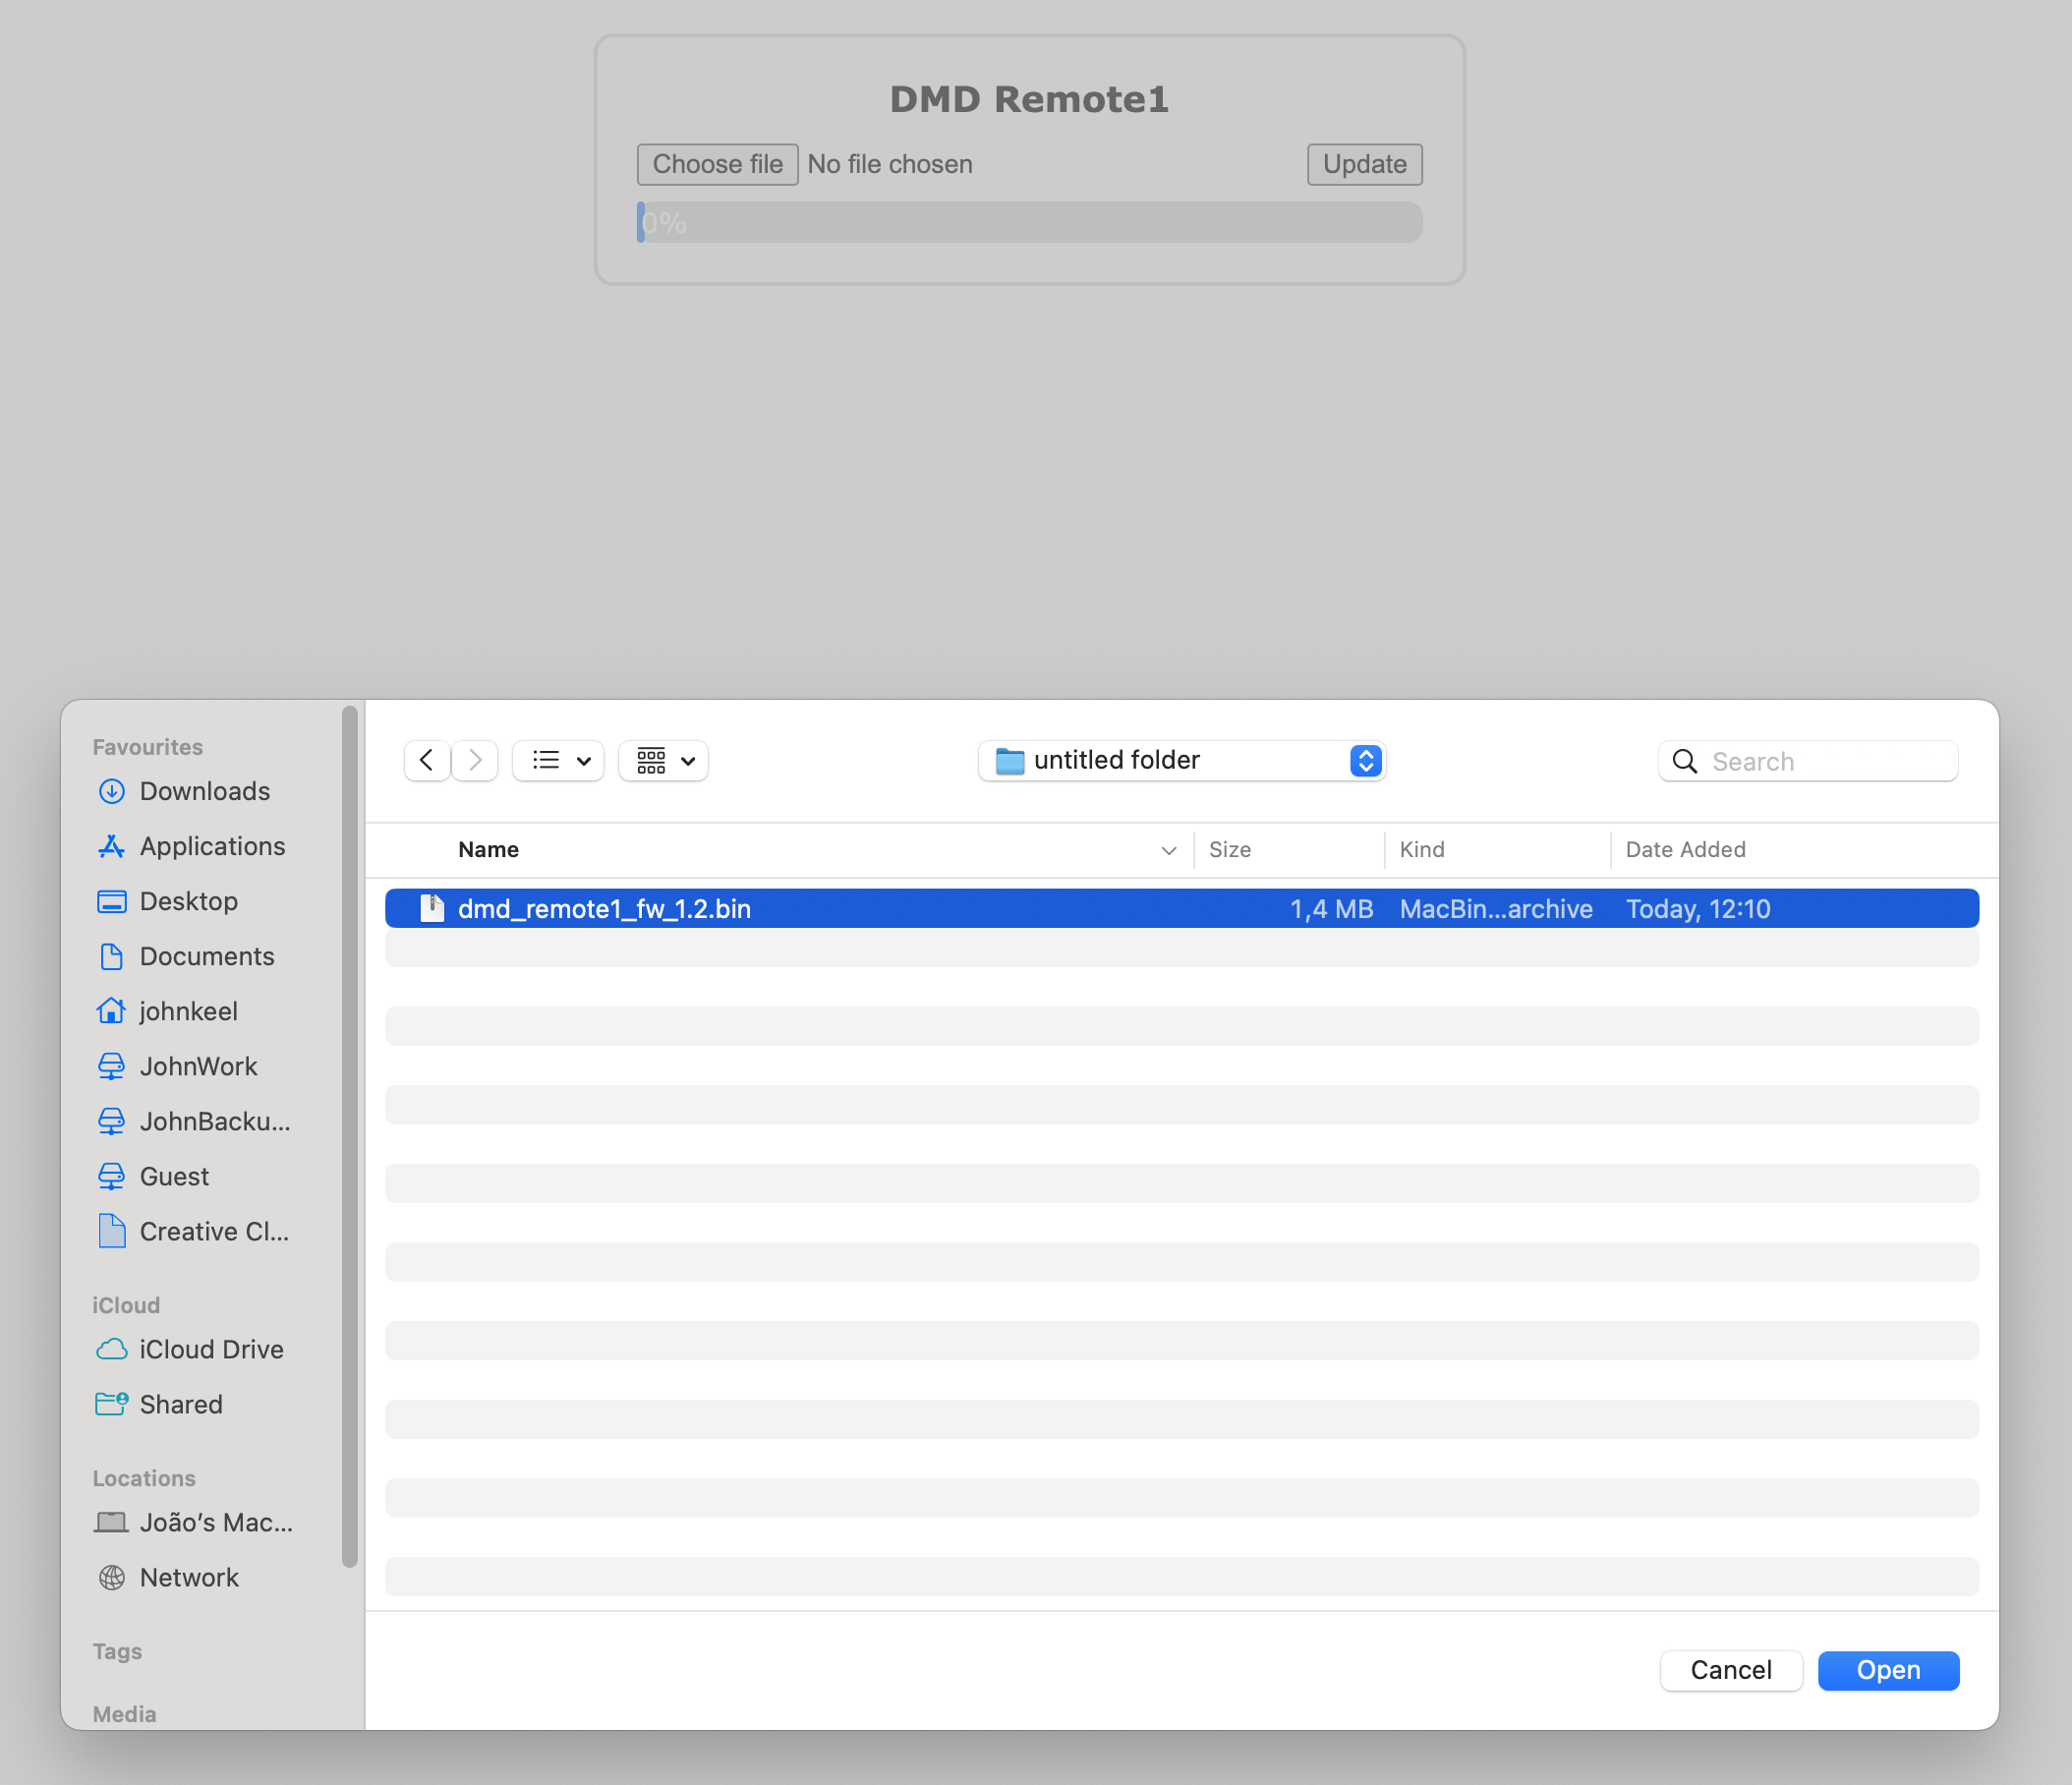
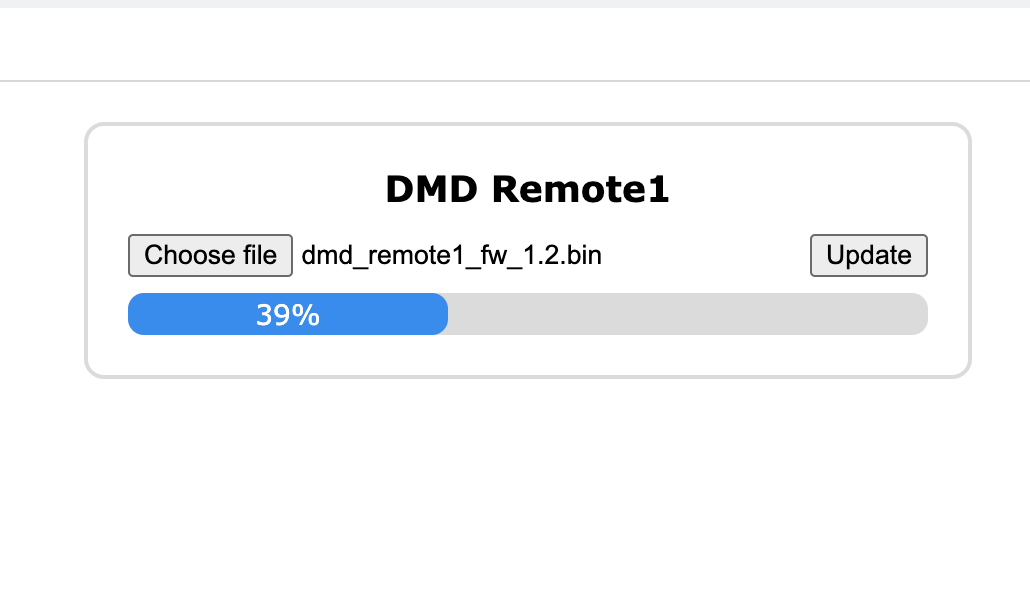
Click the button “Choose File” and select the FW file that you initially downloaded
Now click the “UPDATE” button and you should see a progress window like this:
When its complete it will restart the remote controller automatically and the update will be complete!

